CELLO PLAYING-POSITION EXERCISE
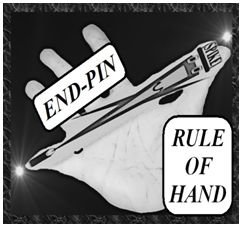
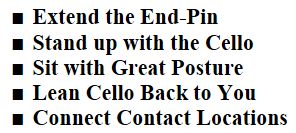
Use the END-PIN RULE OF HAND in order to EXTEND THE END-PIN.
STEPS AT A GLANCE

TIGHTEN THE END-PIN SCREW in order to lock it in place.
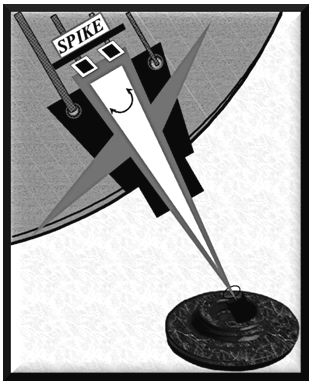
PLACE THE ROCK-STOP on the floor directly in front of you.
SET THE TIP OF THE END-PIN into the rock-stop.
Set the tip of the end-pin approximately one foot in front of you.
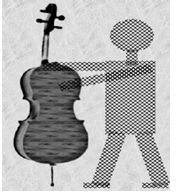
In order to begin with excellent posture, now STAND UP WITH THE CELLO.
Focus your attention to your feet, checking that they are set directly under your shoulders.
Keep the cello standing on its end-pin, and SIT TOWARDS THE FRONT OF YOUR CHAIR.
Place your feet flat on the floor and bend your knees in order to form a 90 degree angle. Your hips should be slightly higher than your knees.
Depending on the height of the chair, you may need to adjust exactly how close to the edge of the chair you need to sit in order to achieve the correct angle to your knees.
POSITION YOUR KNEES so as to allow the Lower Bouts to make proper contacts.
TILT THE CELLO towards you, bringing the weight of the instrument to you.
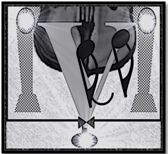
CONNECT THE UPPER-RIM to the contact location with your Sternum.
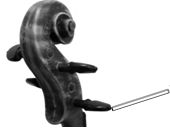

Take notice of the four tuning pegs. When the cello is in playing position, the lowest peg on the side closest to you is located near your left ear.
This peg is called the C-Peg.
Congratulations! You are now in Cello Playing-Position.


Leverage Step Exercise Crossing Guard Exercise Grounding Your Roots Exercise Balancing Your Branches Exercise
Violin Playing-Position Viola Playing-Position Cello Playing-Position Bass Playing-Position
Chin-Rest Information Shoulder-Rest Information End-Pin Information Rock-Stop Information
Violin Position Song Viola Position Song Cello Position Song Bass Position Song
Warp to Playing-Position Exam Warp to Pizzicato Worlds


